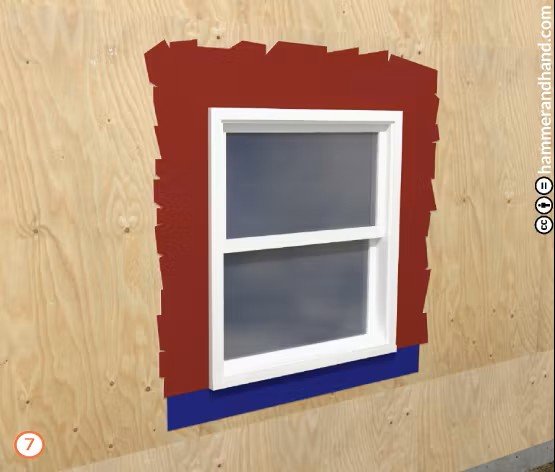
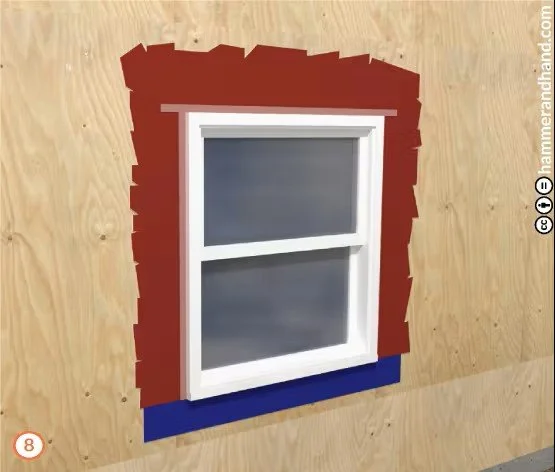
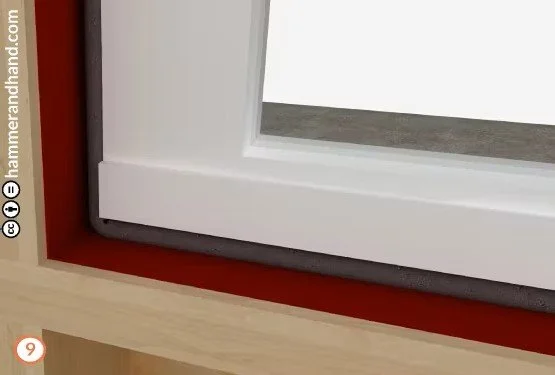
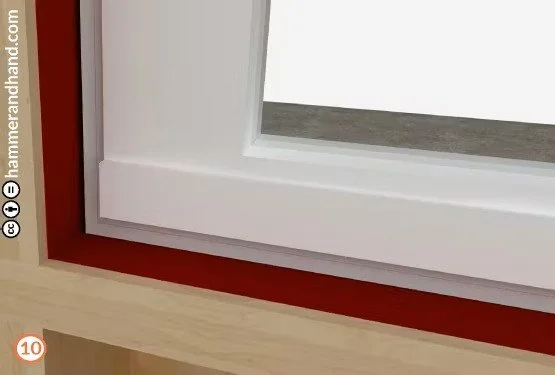
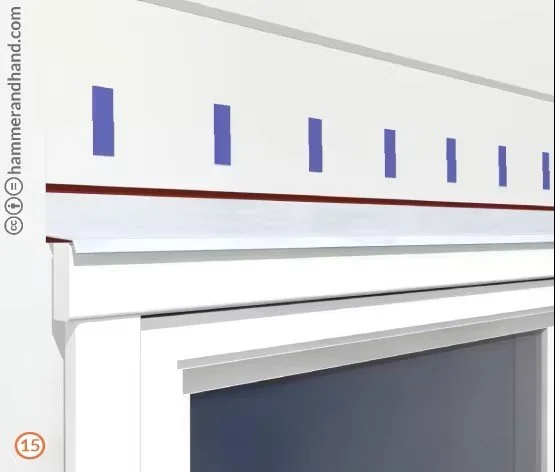
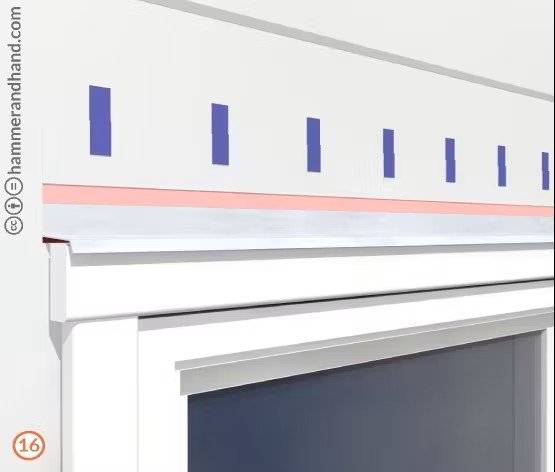
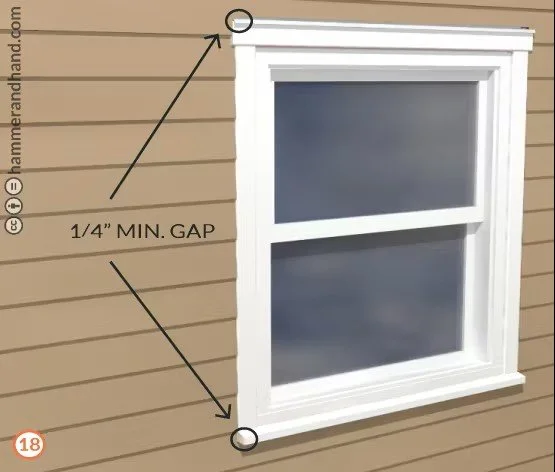
IN THIS LESSON


Router or sand the rough opening (RO) to make clean edges for applying fluid flashing.

  • Pass over outer edges with sand paper to get rid of any inconsistencies.

  • ROs should be 1” larger than window dimensions, both width and height. If space requirements are not met, square or fix before continuing.

Slope the sill using beveled siding or a wedge.

  • Apply Joint & Seam Filler to all joints and voids larger than 1/4” that are to be covered in FastFlash.

  • Ensure that all nails are set, apply pink Joint & Seam Filler and tool into place.

  • Apply FastFlash to sill, extending 9” out from the RO to either side.

  • Take care not to FastFlash too far below the RO because the transition strip will become embedded on contact and the water-resistive barrier (WRB) will not be able to slip underneath.

  • Recommended: spread FastFlash 2” down from the bottom of the RO.

SureFlash Installation:

  • Install transition sheet.

  • Must extend down from sill at least 4” farther than FastFlash to adequately lap over WRB to be installed later.

  • FastFlash around the rest of the RO and tool over top edges of transition strip to avoid reverse lapping.

  • Provide complete, level support for windows, where framing allows, by installing plastic or decay-resistant wood shims.

  • Use horseshoe shims to hold window flange off of the sheathing so water can drain if the window fails.

  • RECOMMENDED: 1/16 or 1/8” horseshoe shims.

  • Insert window in RO and fasten according to manufacturer’s specifications.

  • Apply Joint & Seam Filler to head and side flanges and tool. For special cases where flanges must be taped for warranty purposes seek additional guidance for suitable alternative.

  • NEVER seal the sill.

Interior View:

  • Insert backer rod.

  • Apply sealant on top of the backer rod and tool into place (see Sealant Joints section).

Slide WRB under transition strip.

  • Apply WRB around window.

  • Complete WRB face, lapped.

  • Make sure WRB is lapped over the built-in flashing at the top of the window and taped.

  • Install trim.

    Note: See alternate rain screen head flashing detail in section 4.2 Top of Window.

  • Cut a slit in the WRB, fold up, and use tape to hold the flap out of the way while the head flashing is installed.

  • Attach head flashing.

  • Apply Joint & Seam Filler to the top of the back leg of the head flashing.

  • Tool Join & Seam Filler into place.

  • Fold WRB flap back down and tape the slit to prevent water intrusion.

  • Attach siding.

  • There should be a 1/4” gap between the bottom of the sill trim and the siding underneath for expansion and contraction.

  • Add a short summary or a list of helpful resources here.